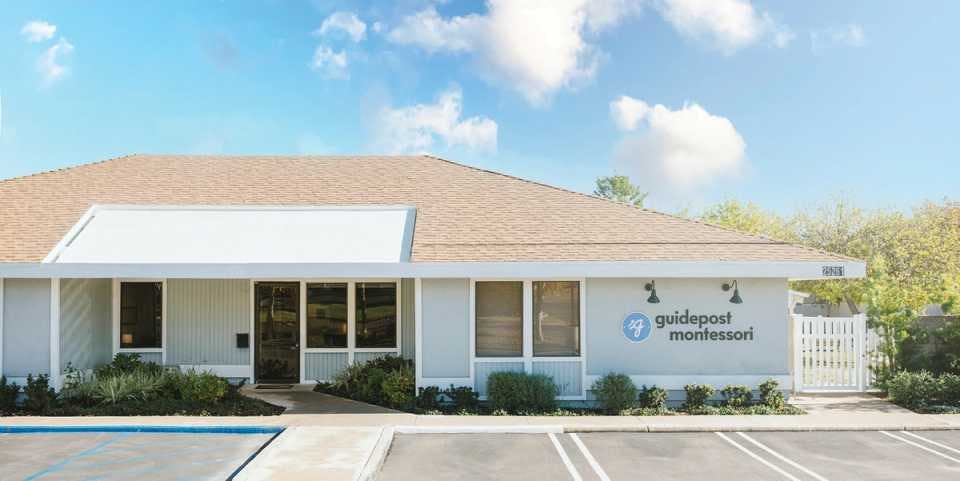
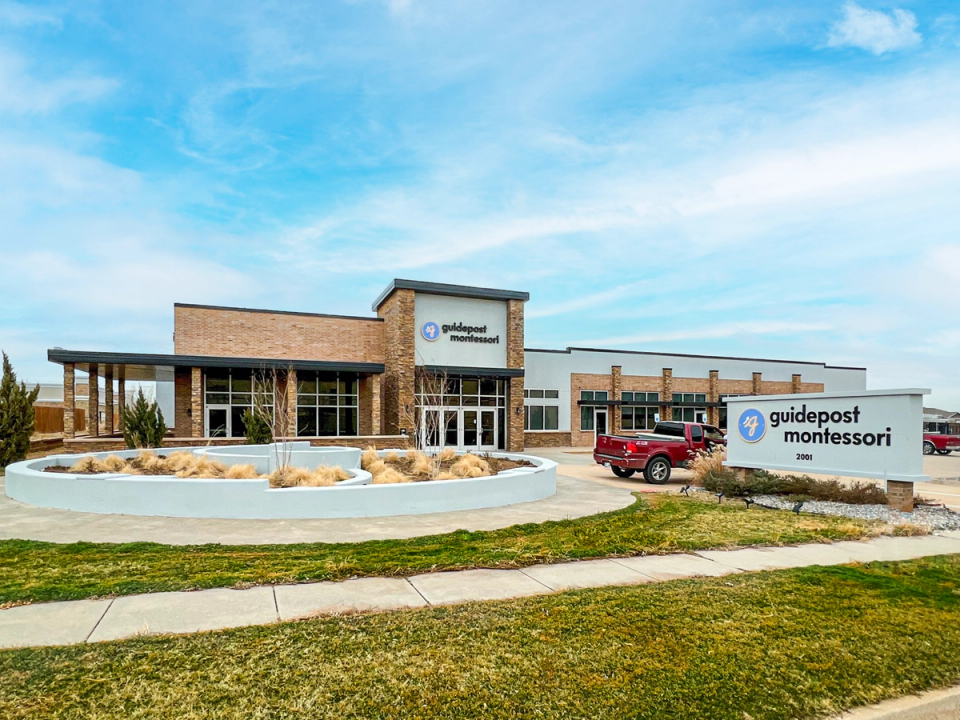
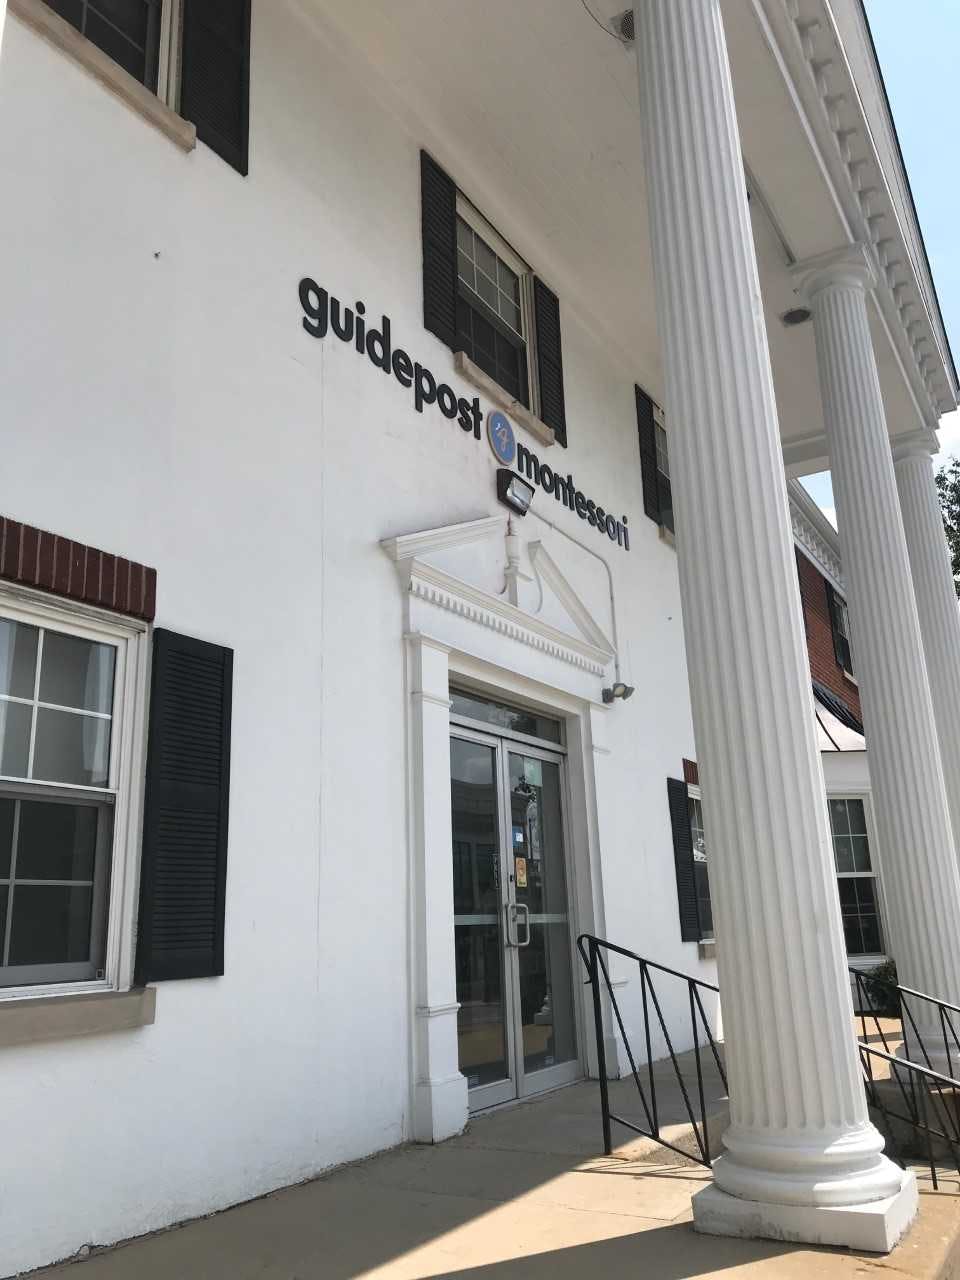
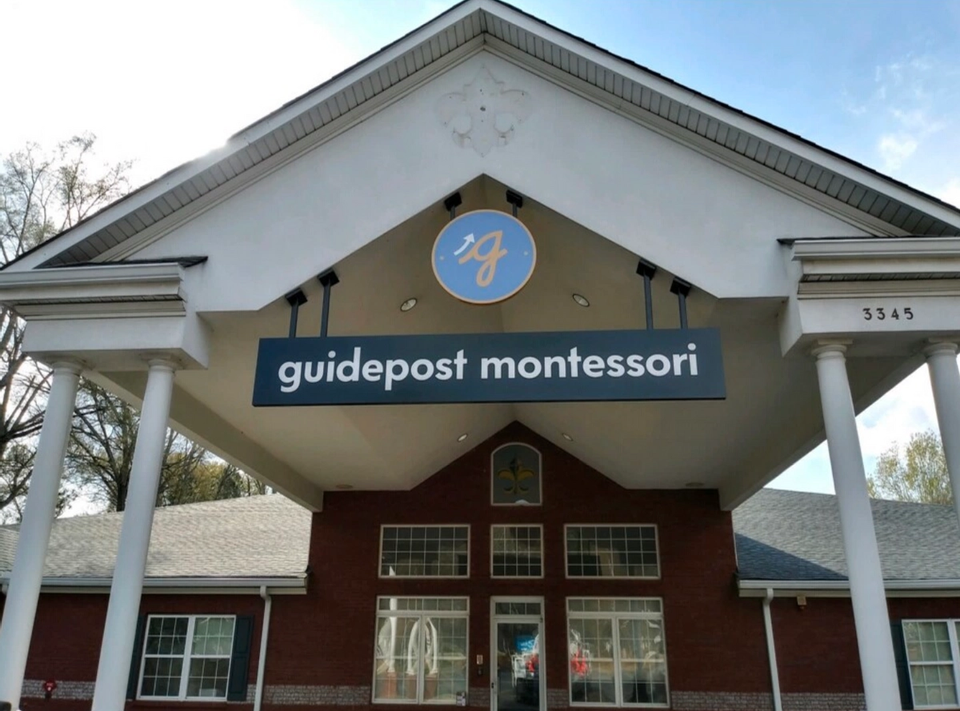
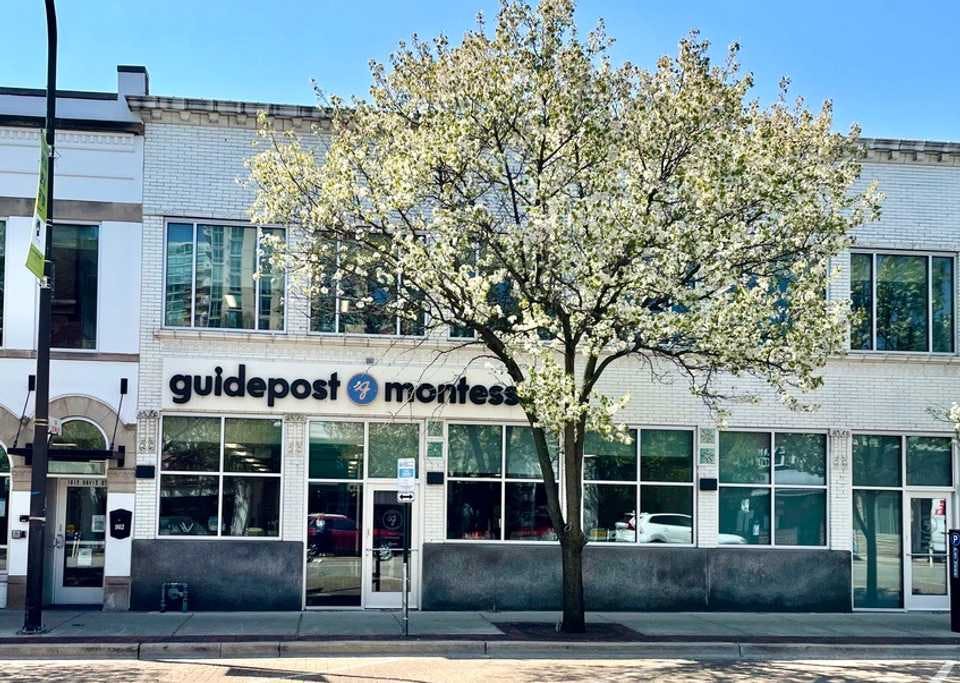
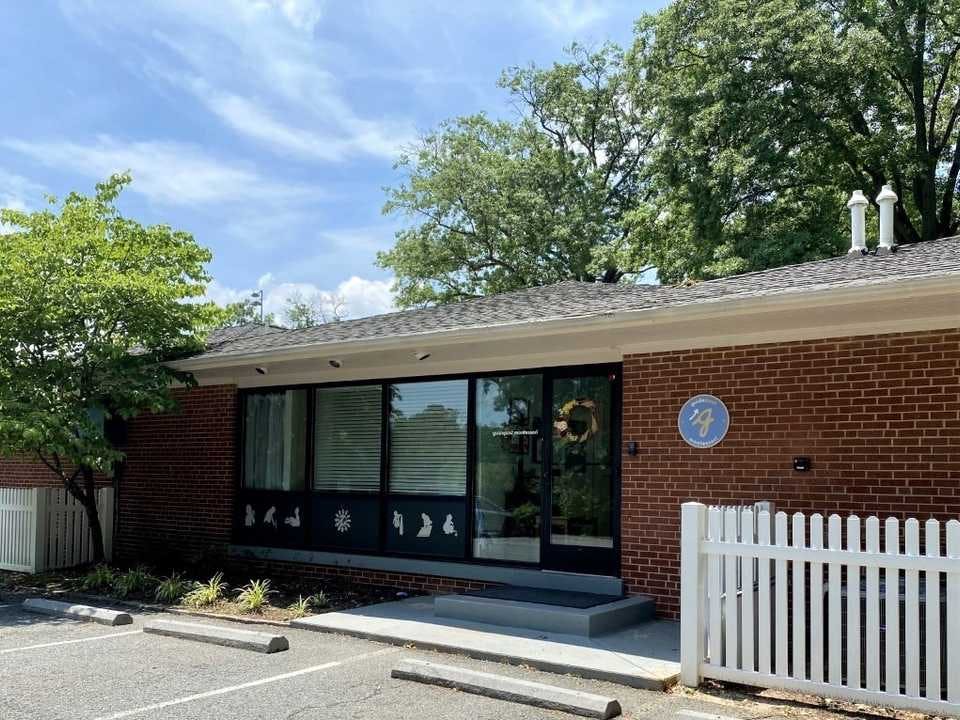
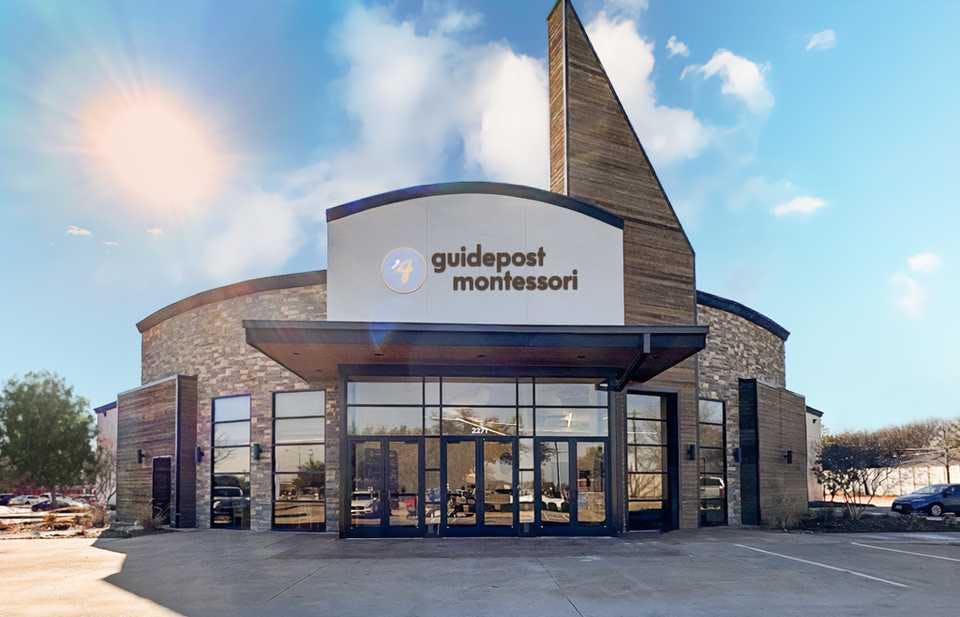
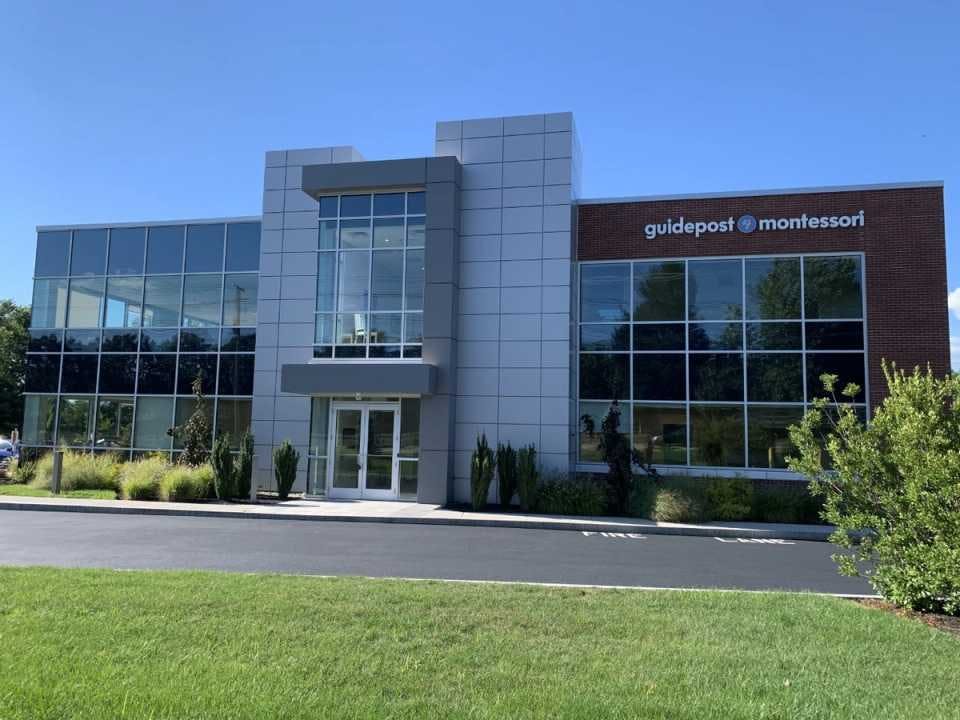
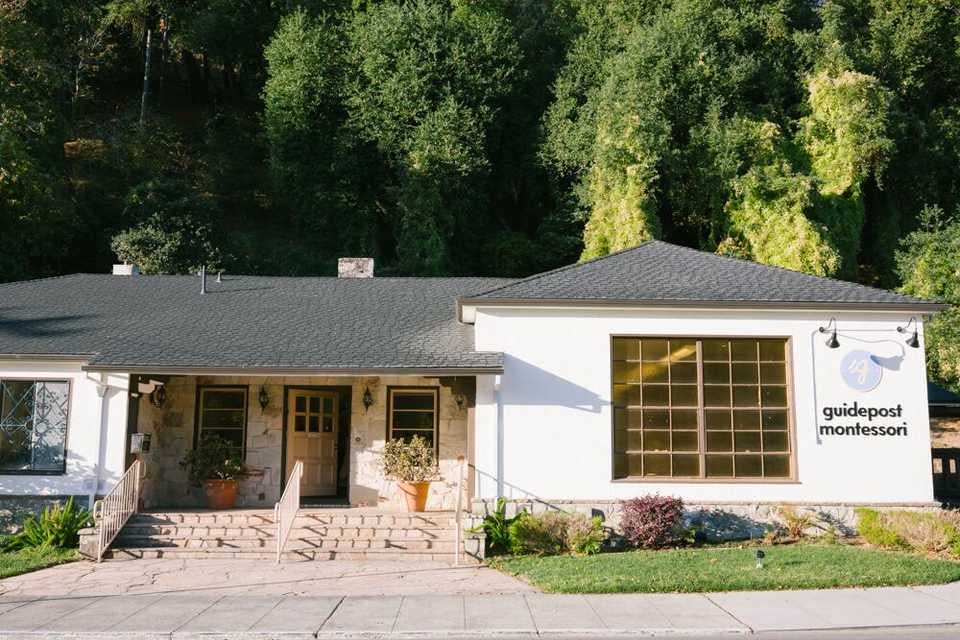
Guidepost School Locations.

Guidepost Montessori School at Alicia
Alicia, Laguna Hills, CA • Offering Spanish Immersion, Toddler, Children's House programs

Guidepost Montessori School at Arbor Spring
Arbor Spring, Ballwin, MO • Offering Nido , Toddler, Children's House programs
Guidepost Montessori School at Baymeadows
Baymeadows, Jacksonville, FL • Offering Nido , Toddler, Children's House programs

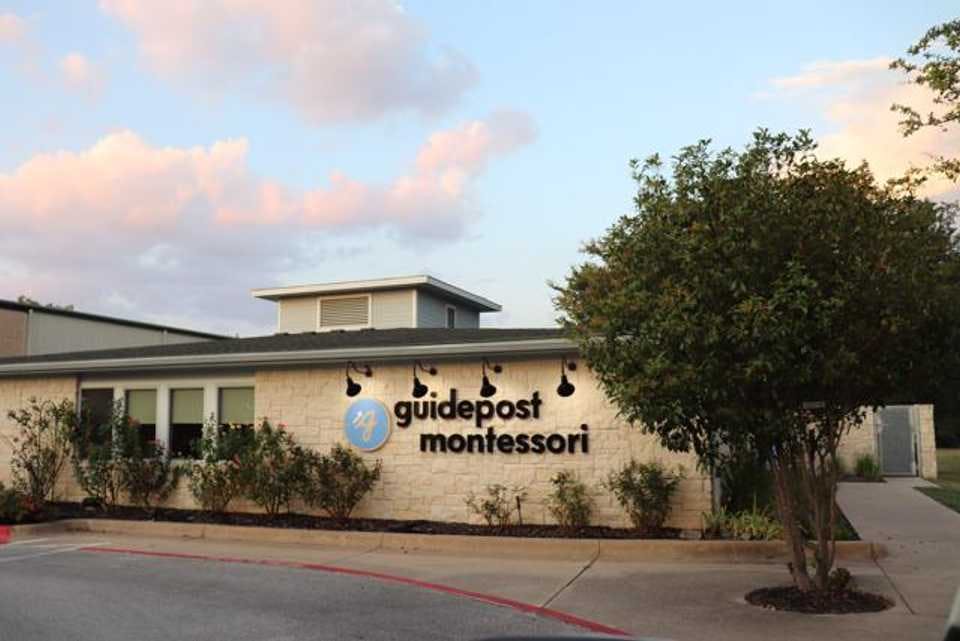
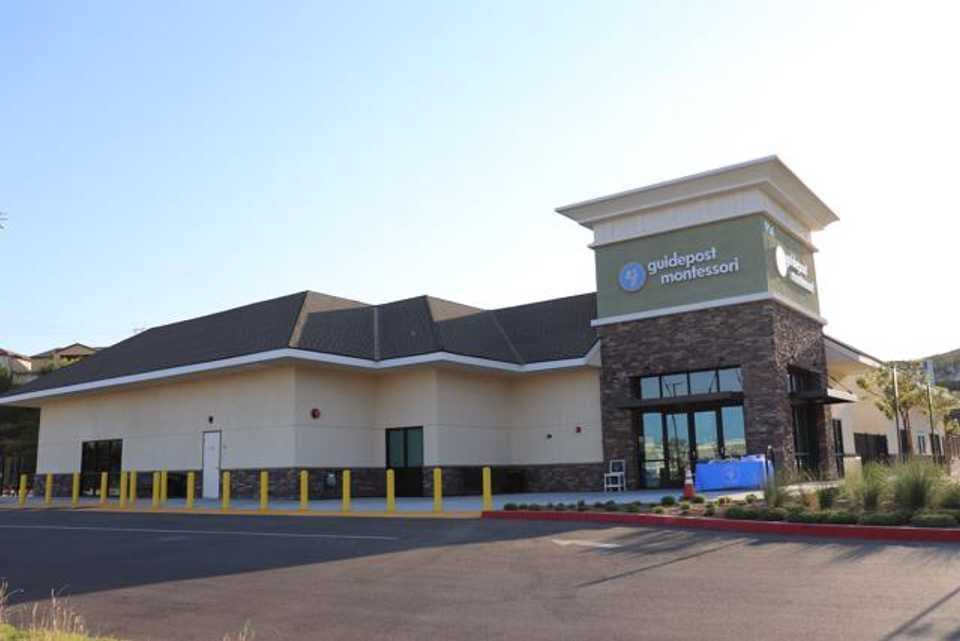
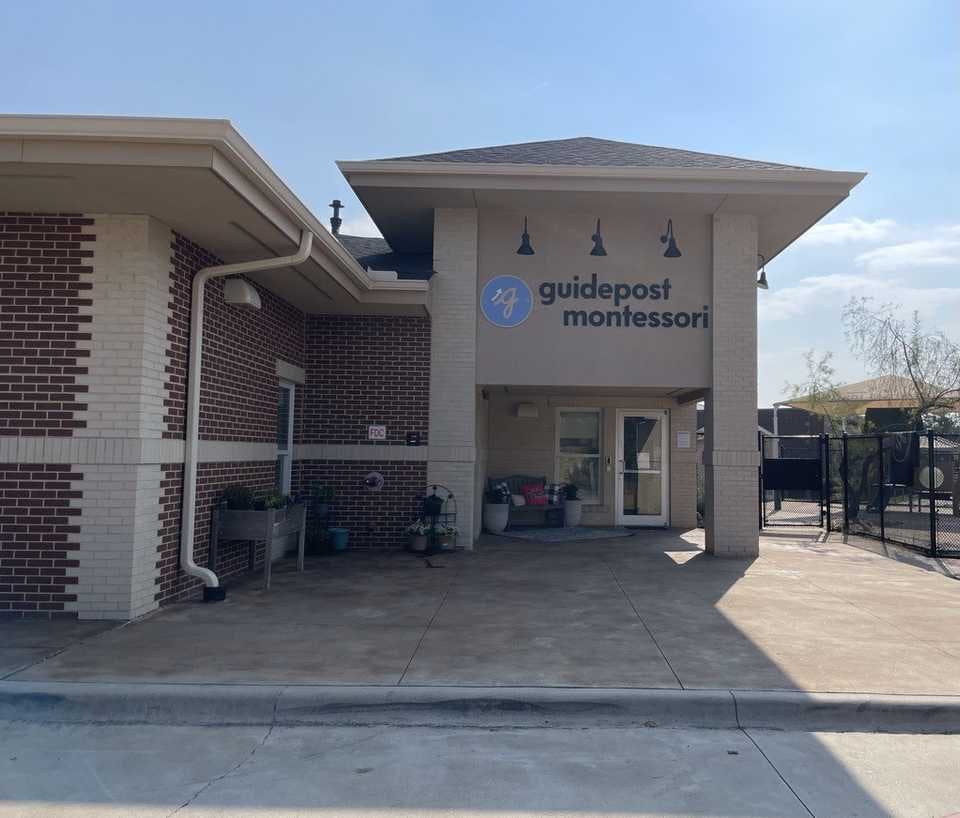
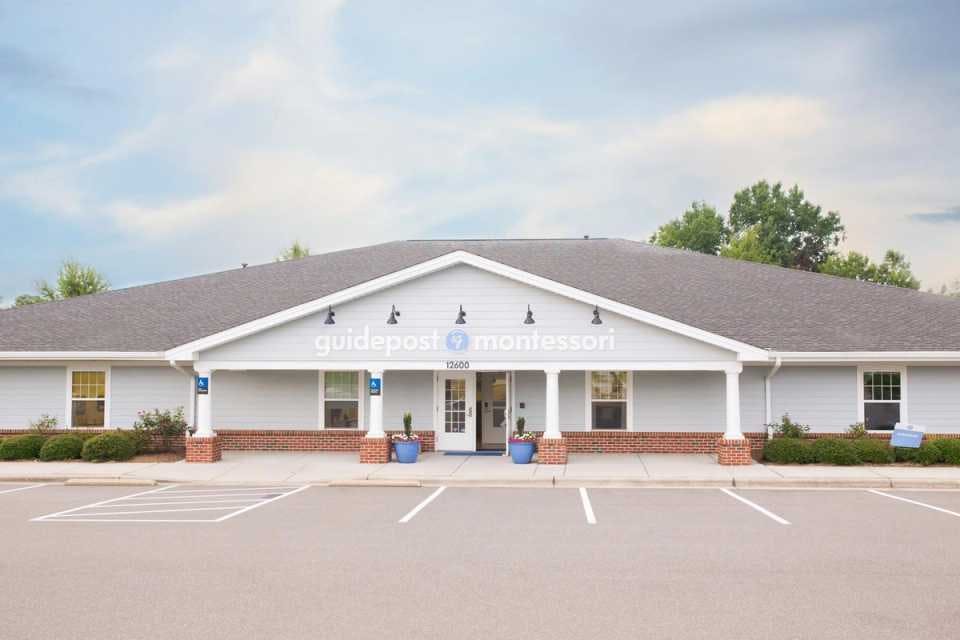
Guidepost Montessori School at Bee Cave
Bee Cave, Austin, TX • Offering Nido , Toddler, Children's House programs

Guidepost Montessori School at Blue Ash
Blue Ash, Cincinnati, OH • Offering Nido , Toddler, Children's House programs
Guidepost School at Bradley Hills
Bradley Hills, Bethesda, MD • Offering Nido , Toddler, Children's House, Spanish Immersion programs
Guidepost Montessori School at Brasswood
Brasswood, Oklahoma City, OK • Offering Nido , Toddler, Children's House programs

Guidepost Montessori School at Bridgewater
Bridgewater, NJ • Offering Nido , Toddler, Children's House programs
Guidepost Montessori School at Broadlands
Broadlands, Ashburn, VA • Offering Nido , Toddler, Children's House programs

Guidepost at Brushy Creek
Brushy Creek, Cedar Park, TX • Offering Nido , Toddler, Children's House programs
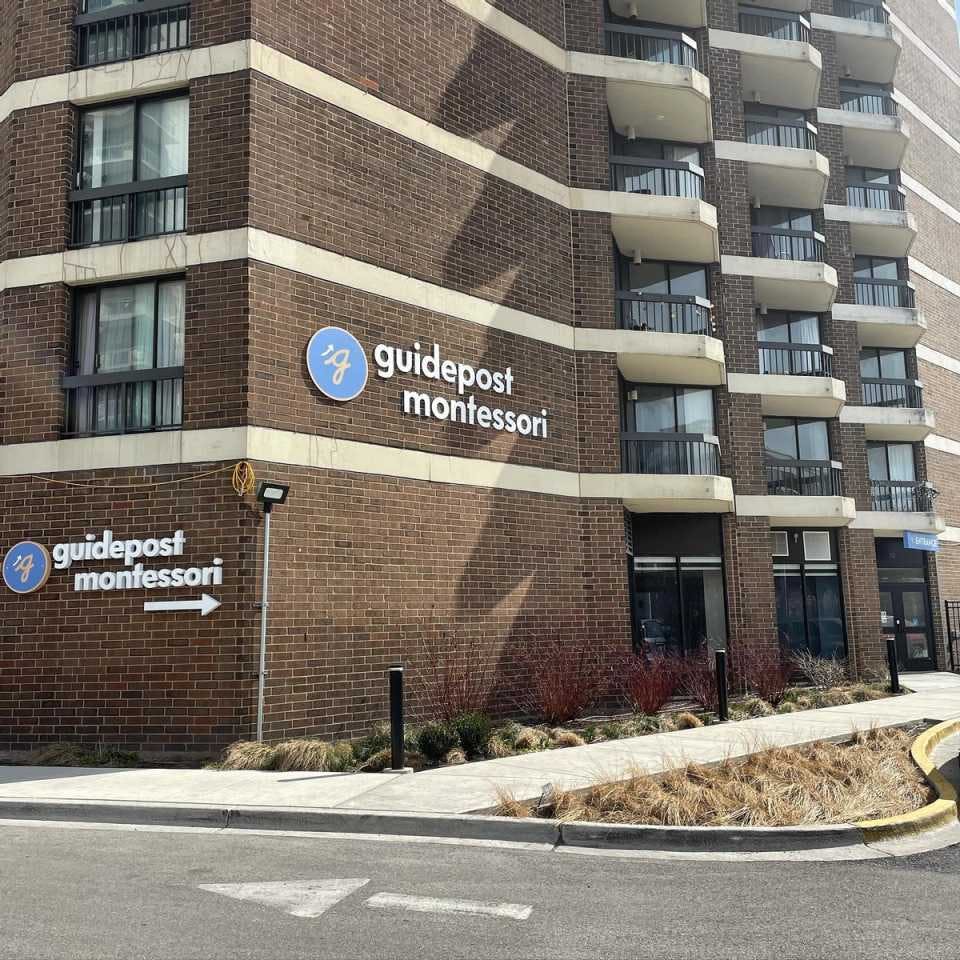
Guidepost Montessori School at Burr Ridge
Burr Ridge, Chicago, IL • Offering Nido , Toddler, Children's House programs
Guidepost Montessori at Cary
Cary, Wake County, NC • Offering Nido , Toddler, Children's House programs
Guidepost Montessori School at Celebration Park
Celebration Park, WA • Offering Nido , Toddler, Children's House programs
Guidepost Montessori School at Central West End
Central West End, St. Louis, MO • Offering Nido , Toddler, Children's House programs
Guidepost Montessori School at Chantilly
Chantilly, Fairfax County, VA • Offering Toddler, Children's House, Elementary, Spanish Immersion programs
Guidepost Montessori School at Copper Hill
Copper Hill, Valencia, CA • Offering Nido , Toddler, Children's House, Spanish Immersion programs
Guidepost Montessori School in Creve Coeur, MO
Creve Coeur, MO • Offering Nido , Toddler, Children's House programs
Guidepost Montessori School at Cypress Creek
Cypress Creek, Cedar Park, TX • Offering Toddler, Children's House programs
Guidepost Montessori School at Deerbrook
Deerbrook, Deerfield, IL • Offering Nido , Toddler, Children's House programs

Guidepost Montessori at Deerfield
Deerfield, GA • Offering Nido , Toddler, Children's House, Spanish Immersion programs
Guidepost Montessori School at Downers Grove
Downers Grove, DuPage County, IL • Offering Nido , Toddler, Children's House programs
Guidepost Montessori School at Downtown Boston
Downtown Boston, Boston, Massachusetts • Offering Nido , Toddler, Children's House programs
Guidepost Montessori School at Downtown Naperville
Downtown Naperville, Naperville, IL • Offering Nido , Toddler, Children's House, Spanish Immersion programs
Guidepost Montessori School at Duluth
Duluth, GA • Offering Nido , Toddler, Children's House, Spanish Immersion programs

Guidepost Montessori School at Eldorado
Eldorado, McKinney, TX • Offering Nido , Toddler, Children's House, Spanish Immersion programs

Guidepost Montessori School at Emeryville
Emeryville, CA • Offering Nido , Toddler, Children's House, Mandarin Immersion programs
Guidepost Montessori School at Evanston
Evanston, IL • Offering Nido , Toddler, Children's House programs
Guidepost Montessori School at Fairfax
Fairfax, VA • Offering Children's House programs

Guidepost Montessori School at Flower Mound
Flower Mound, TX • Offering Nido , Toddler, Children's House, Spanish Immersion programs
Guidepost Montessori School at Folsom
Folsom, CA • Offering Nido , Toddler, Children's House, Elementary, Spanish Immersion programs
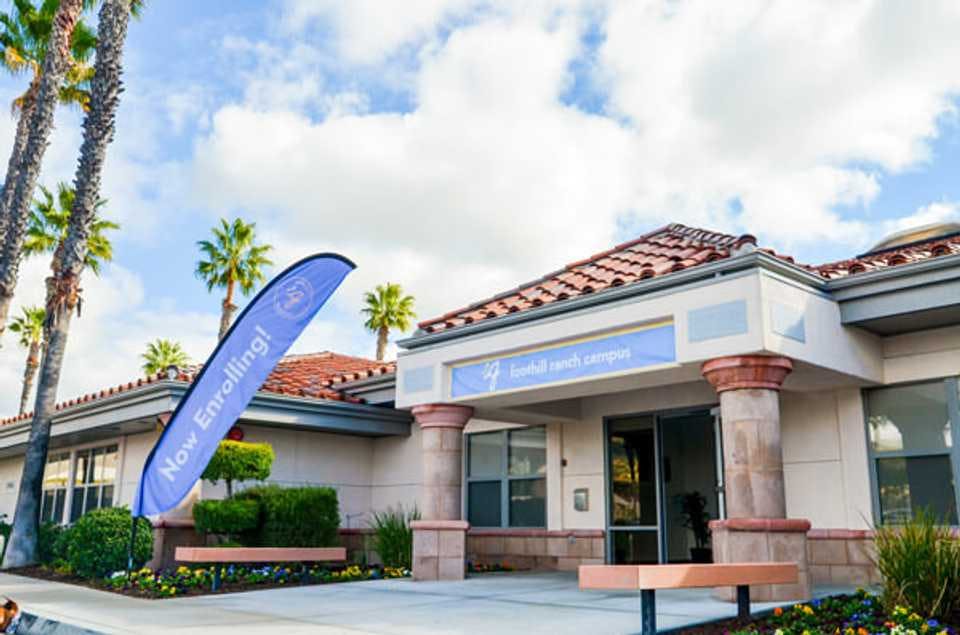
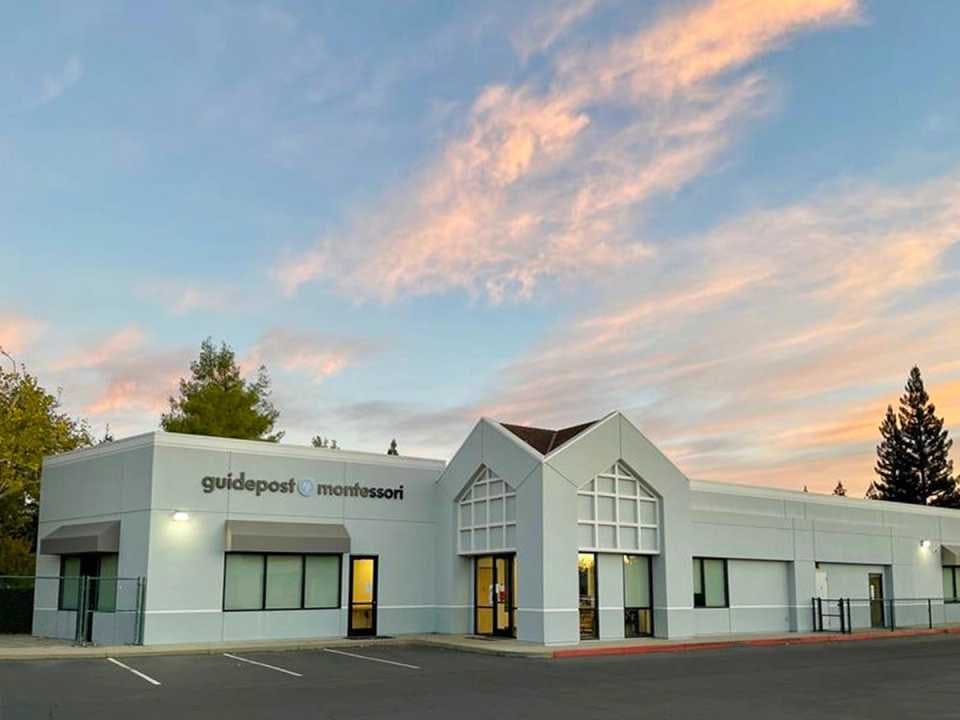
Guidepost Montessori School at Foothill Ranch
Foothill Ranch, Lake Forest, CA • Offering Nido , Toddler, Children's House programs

Guidepost Montessori School at Galleria
Galleria, Houston, TX • Offering Nido , Toddler, Children's House programs

Guidepost Montessori School at Gambrills
Gambrills, MD • Offering Nido , Toddler, Children's House programs
Guidepost Montessori School at Goodyear
Goodyear, AZ • Offering Nido , Toddler, Children's House, Elementary programs
Guidepost Montessori School at Hampshire
Hampshire, Waldorf, MD • Offering Nido , Toddler, Children's House programs

Guidepost Montessori School at Hillsboro
Hillsboro, OR • Offering Nido , Toddler, Children's House programs
Guidepost Montessori and Academy at Hollywood Beach
Hollywood Beach, FL • Offering Toddler, Children's House, Elementary programs
Guidepost Montessori School at Hurst
Hurst, TX • Offering Nido , Toddler, Children's House programs

Guidepost Montessori School at Katy
Katy, TX • Offering Nido , Toddler, Children's House, Elementary, Spanish Immersion programs

Guidepost Montessori School at Kendall Park
Kendall Park • Offering Nido , Toddler, Children's House programs
Guidepost Montessori School at Kent
Kent, WA • Offering Nido , Toddler, Children's House programs
Guidepost Montessori School at Kentwood
Kentwood, East Paris, MI • Offering Nido , Toddler, Children's House programs

Guidepost Montessori School at Laurel Oak
Laurel Oak, Voorhees Township, NJ • Offering Toddler, Children's House, Elementary programs

Guidepost Montessori School at Lawrenceville
Lawrenceville, NJ • Offering Nido , Toddler, Children's House programs
Guidepost Montessori School at Leavenworth
Leavenworth, KS • Offering Nido , Toddler, Children's House programs
Guidepost Montessori School at Leawood
Leawood, KS • Offering Nido , Toddler, Children's House programs

Guidepost Montessori School at Legacy
Legacy, Plano, TX • Offering Nido , Toddler, Children's House programs
Guidepost Montessori School at Lincoln Park
Lincoln Park, Chicago, IL • Offering Nido , Toddler, Children's House programs
Guidepost Montessori School at Lynnwood
Lynnwood, WA • Offering Nido , Toddler, Children's House programs
Guidepost Montessori School at Magnificent Mile
Magnificent Mile, Chicago, IL • Offering Nido , Toddler, Children's House, Elementary, Spanish Immersion programs

Guidepost Montessori School at Mahwah
Mahwah, Bergen County, NJ • Offering Nido , Toddler, Children's House programs
Guidepost Montessori School at Mansfield
Mansfield, TX • Offering Nido , Toddler, Children's House programs
Guidepost Montessori School at Marietta
Marietta, GA • Offering Toddler, Children's House programs
Guidepost Montessori School at Marlborough
Marlborough, MA • Offering Nido , Toddler, Children's House programs
Guidepost Montessori School at Mill Valley
Mill Valley, CA • Offering Nido , Toddler, Children's House programs
Guidepost Montessori School at Montclair
Montclair, VA • Offering Toddler, Children's House, Spanish Immersion programs
Guidepost Montessori School at North Scottsdale
North Scottsdale, Scottsdale, AZ • Offering Nido , Toddler, Children's House, Elementary programs
Guidepost Montessori School at North Wales
North Wales • Offering Nido , Toddler, Children's House programs
Guidepost Montessori School at Oak Brook
Oak Brook, DuPage County, IL • Offering Nido , Toddler, Children's House programs
Guidepost Montessori School at Old Town
Old Town, Chicago, IL • Offering Nido , Picco , Toddler, Children's House, Spanish Immersion programs
Guidepost Montessori School at Palm Beach Gardens
Palm Beach Gardens, FL • Offering Nido , Toddler, Children's House, Spanish Immersion programs
Guidepost Montessori School at Paradise Valley
Paradise Valley, Scottsdale, AZ • Offering Toddler, Children's House programs
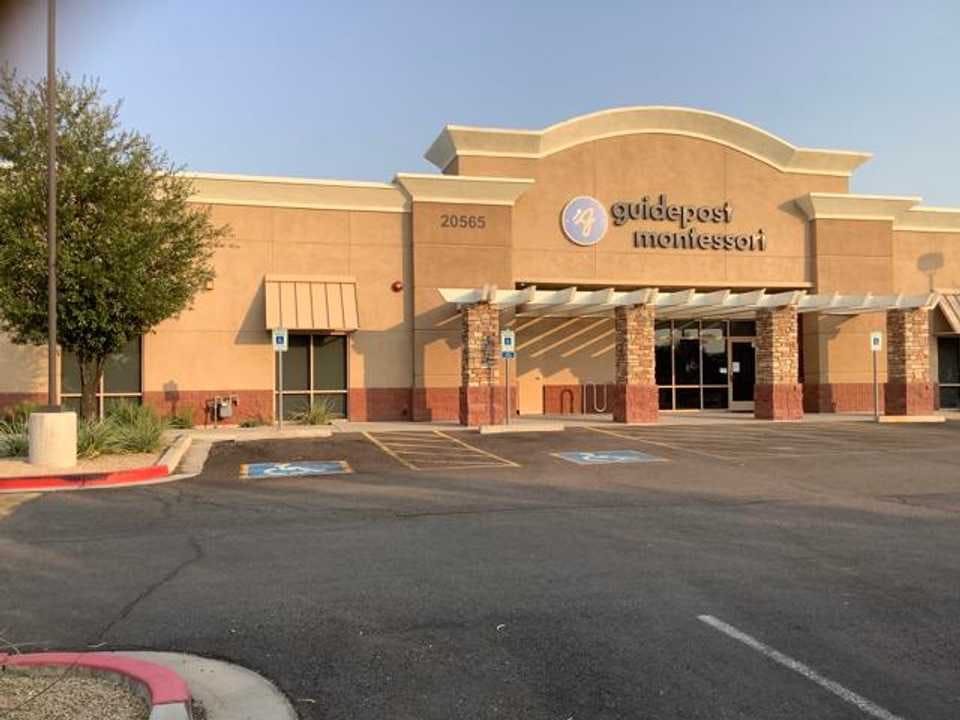
Guidepost Montessori School at Peoria
Peoria, AZ • Offering Nido , Toddler, Children's House, Spanish Immersion programs
Guidepost Montessori School at Plum Canyon
Plum Canyon, Santa Clarita, CA • Offering Nido , Toddler, Children's House, Spanish Immersion programs
Guidepost Montessori School at Princeton Meadows
Princeton Meadows, Plainsboro, NJ • Offering Nido , Toddler, Children's House programs
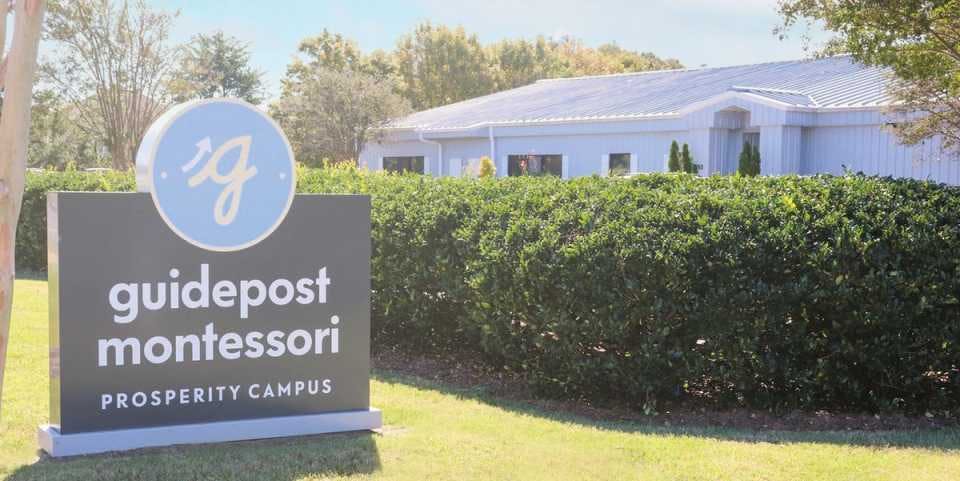
Guidepost Montessori School at Prosperity
Prosperity, Charlotte, NC • Offering Nido , Toddler, Children's House, Spanish Immersion programs
Guidepost Montessori School at Reston
Reston, Herndon, VA • Offering Nido , Toddler, Children's House, Spanish Immersion programs
Guidepost Montessori School at Richardson
Richardson, TX • Offering Nido , Toddler, Children's House programs
Guidepost Montessori School at Round Rock
Round Rock, TX • Offering Nido , Toddler, Children's House programs
Guidepost Montessori School at San Rafael
San Rafael, CA • Offering Nido , Toddler, Children's House programs

Guidepost Montessori School at Somerset
Somerset, NJ • Offering Nido , Toddler, Spanish Immersion, Children's House programs

Guidepost Montessori at South Beaverton
South Beaverton, OR • Offering Toddler, Children's House programs
Guidepost Montessori School at Naperville
South Naperville, IL • Offering Nido , Toddler, Children's House programs
Guidepost Montessori School at South Riding
South Riding, Loudoun County, VA • Offering Nido , Toddler, Children's House programs
Guidepost Montessori at Spruce Tree
Spruce Tree, Raleigh, NC • Offering Nido , Toddler, Children's House, Spanish Immersion programs

Guidepost Montessori School at The Woodlands
The Woodlands, Spring, TX • Offering Nido , Toddler, Children's House programs

Guidepost Montessori School at Timber Ridge
Timber Ridge, Frisco, TX • Offering Nido , Toddler, Children's House programs

Guidepost Montessori School at Verona
Verona, WI • Offering Nido , Toddler, Children's House programs
Guidepost Montessori School at West Alex
West Alex, Alexandria, VA • Offering Toddler, Children's House, Spanish Immersion programs
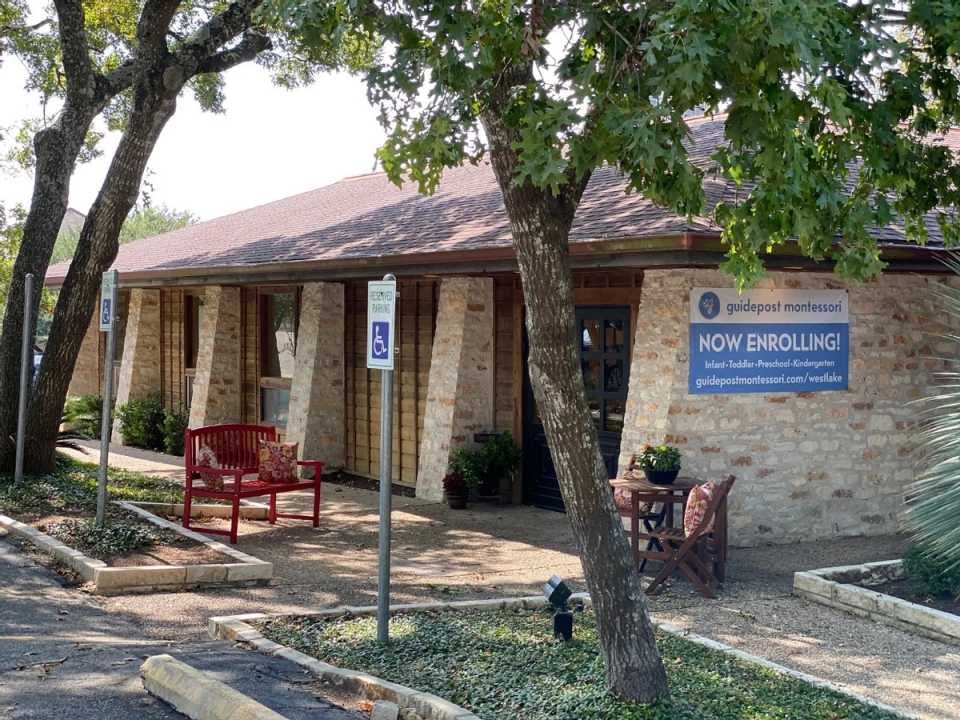
Guidepost Montessori School at Westlake
Westlake, Austin, TX • Offering Nido , Toddler, Children's House programs
Guidepost Montessori School at Wicker Park
Wicker Park, Chicago, IL • Offering Toddler, Children's House, Spanish Immersion programs
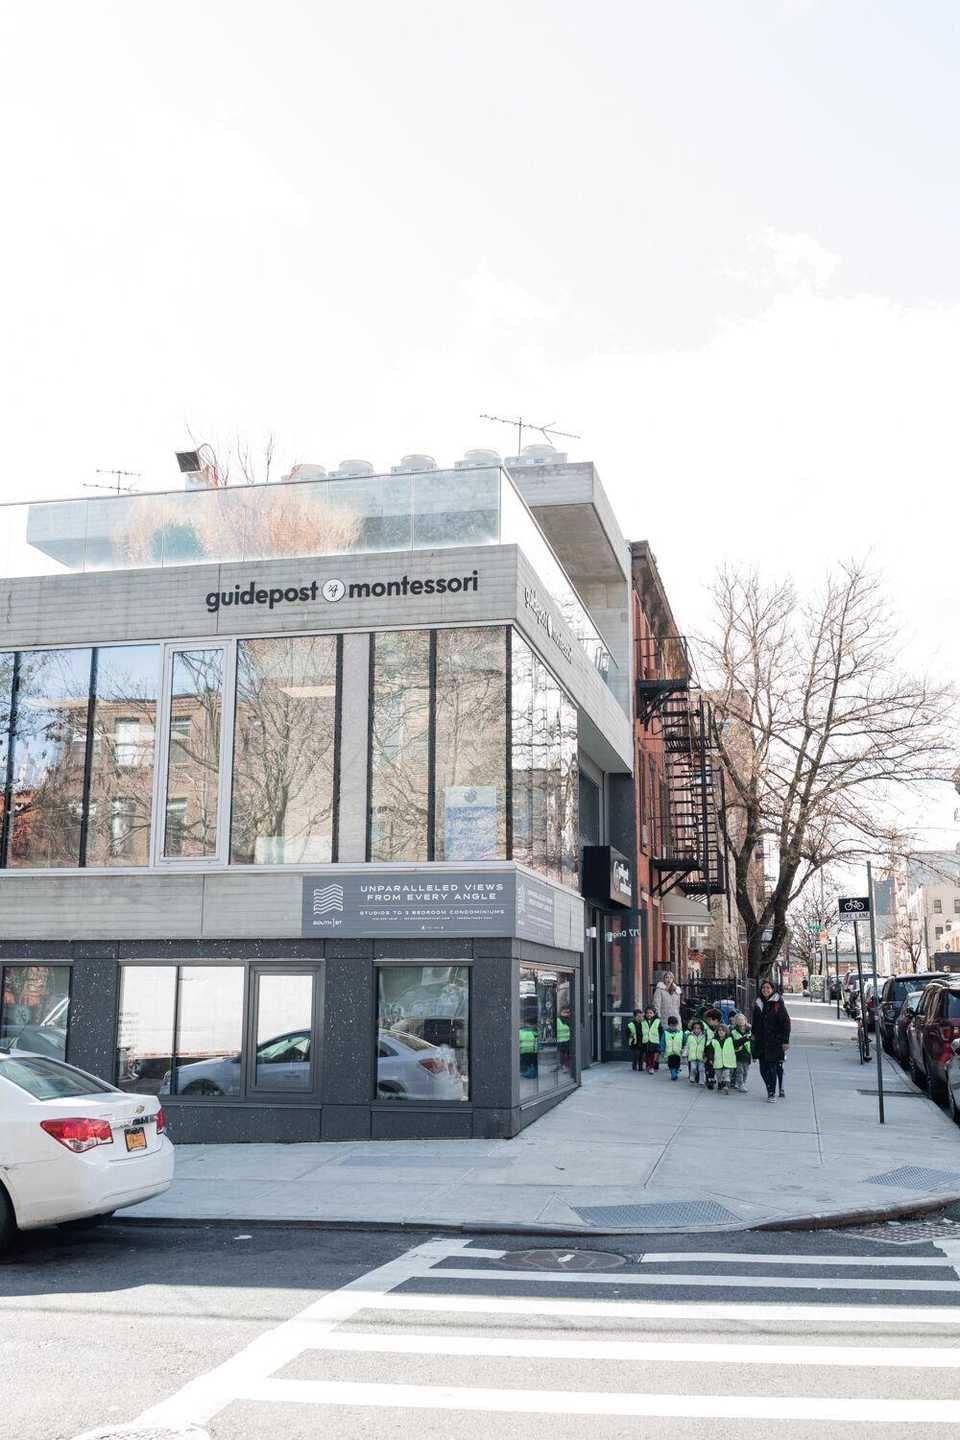
Guidepost Montessori School at Williamsburg
Williamsburg, Brooklyn, NY • Offering Toddler, Children's House, Spanish Immersion programs
Guidepost Montessori School in Wilton, CT
Wilton, CT • Offering Nido , Toddler, Children's House programs
Guidepost Montessori School at Worthington
Worthington, Columbus, OH • Offering Nido , Toddler, Children's House, Elementary programs